Work doesn't half get in the way of restorations!
After an intense 8 month work project I now have some time to get back to working on the Interceptor. To make sure I get it back on the road I have rashly booked it into Appleyards in 3 weeks time for the welding, recommissioning and pre-MOT checks.
This leaves me with the following jobs to do before it can be trailered over to the workshop.
1, Finish cleaning the near side chassis and wheel arch
2, Paint and protect the chassis
3, Rebuild the suspension
4, 4 new tyres.
5, New steering rack fitted
6, Power steering pump fitted
7, Radiator in (may get new radiator...)
I have a busy weekend ahead.....
Friday, 17 May 2013
Monday, 18 June 2012
Upper Wishbones, Vertical Link and Spring
Catching up on the blog yesterday gave me new impetus to get back out into the garage and crack on with the rest of the suspension.
The rebuilt upper wishbones were fitted. Note that the upper wishbones on a MK11 have to be rebuilt onto the upper fulcrum before the fulcrum is fitted to the chassis due to not being able to fit the left wishbone over the fulcrum when fitted due to a chassis support arm.
The vertical link and new upper ball joint could then be installed to connect upper and lower wishbones. To ensure that when the suspension is in the correct position when standing on the wheels the suspension was set up so that the upper bump stop is not resting on the chassis. I left a few centimetres gap.
Now the bit that I have been dreading, compressing the new spring and fitting the spring pan. I have created a home made spring compressor as traditional spring compressors will not fit. It's a Jensen, why would traditional tools work!.
The home made compressor is made up of an inch thick aluminium disk that fits in the underside of the spring pan. The disk has a 20mm hole in the centre in which a 16mm high tensile threaded bar can pass through the inside of the spring and , using 2 M24 nuts, locked off at the top using the shock mounting hole.
There is another M24 under the disk that can be would up the threaded bar and thus compressing the spring.
To guide the pan into the right position on the lower wishbone I used two 6" 3/8 Bolts in the front left and back right spring pan fixing holes into the upper wishbone.
What followed was 30 minutes of slowly winding up the spring hoping that the nut doesn't lock on or de-thread the bar! Surprisingly it worked rather well and as soon as the pan was close enough to the wishbone the 4 free fixing bolts were fitted and used to secure the pan. The guide bolts were removed and the remaining two bolts were fitted. These bolts were then tightened slowly a bit at a time working around the pan until all tightened correctly.
The spring compressor could then be loosened off. At this point the whole suspension initially lowers until the bump stop is resting on the chassis. The suspension will rise when the wheel is on and is taking the weight of the car.
Time for pictures...

Front suspension with spring installed

Shock installed
Sunday, 17 June 2012
Front Suspension rebuild - Part 1
Finally at the point where I can start putting parts back on the car. All of the parts that were removed (wishbones etc) have been powder coated and new springs and shocks have been purchased.

I also decided to replace nuts and bolts where replacements can be found. As usual Appleyards came up with the goods and an Imperial Assorted Garage Pack of nuts, bolts and washers in various sizes was sourced as well as various non standard bolts. Not all of the bolts could be found so the old ones were scrubbed and the threads cleaned.
Before each part is put back on the car the holes and threads need to have the powder coating removed. To confirm each hole and thread is ready I did a test build of the part on the bench.


Powder coated parts and new shocks
Before each part is put back on the car the holes and threads need to have the powder coating removed. To confirm each hole and thread is ready I did a test build of the part on the bench.

Lower wishbone
The lower wishbone is now back on. Next is the upper wishbone assembly and vertical link. Then the dreaded spring and spring pan. I am not looking forward to that bit at all.
Chassis Paint
Work has taken it's toll recently so there has been very little work done on the Interceptor or on the blog! I have managed to spend a few evenings on it with the following results....
A couple of coats of undercoat and top coat. I have selected a couple of products from a local company called Dacrylate Paints. The undercoat is Vinaprime and the top coat is Vinadac. Very impressed with the products and results so far.


A couple of coats of undercoat and top coat. I have selected a couple of products from a local company called Dacrylate Paints. The undercoat is Vinaprime and the top coat is Vinadac. Very impressed with the products and results so far.

Undercoat on Chassis

Top coat on Chassis
This is the turning point as I can now start putting suspension parts back on.
Wednesday, 28 March 2012
...More cleaning
Hours and hours of cleaning later, the wheel well is starting to look in a position to re-paint.
Starting to remove the old stone chip...

The task gets larger...

Anti roll bar removed...it will be going for powder coating.

With all the stone chip removed...

A few more hours on the cross beam should see this section ready for painting....I think it's still fun :)
Starting to remove the old stone chip...

The task gets larger...

Anti roll bar removed...it will be going for powder coating.

With all the stone chip removed...
A few more hours on the cross beam should see this section ready for painting....I think it's still fun :)
Sunday, 26 February 2012
Chassis Cleaning
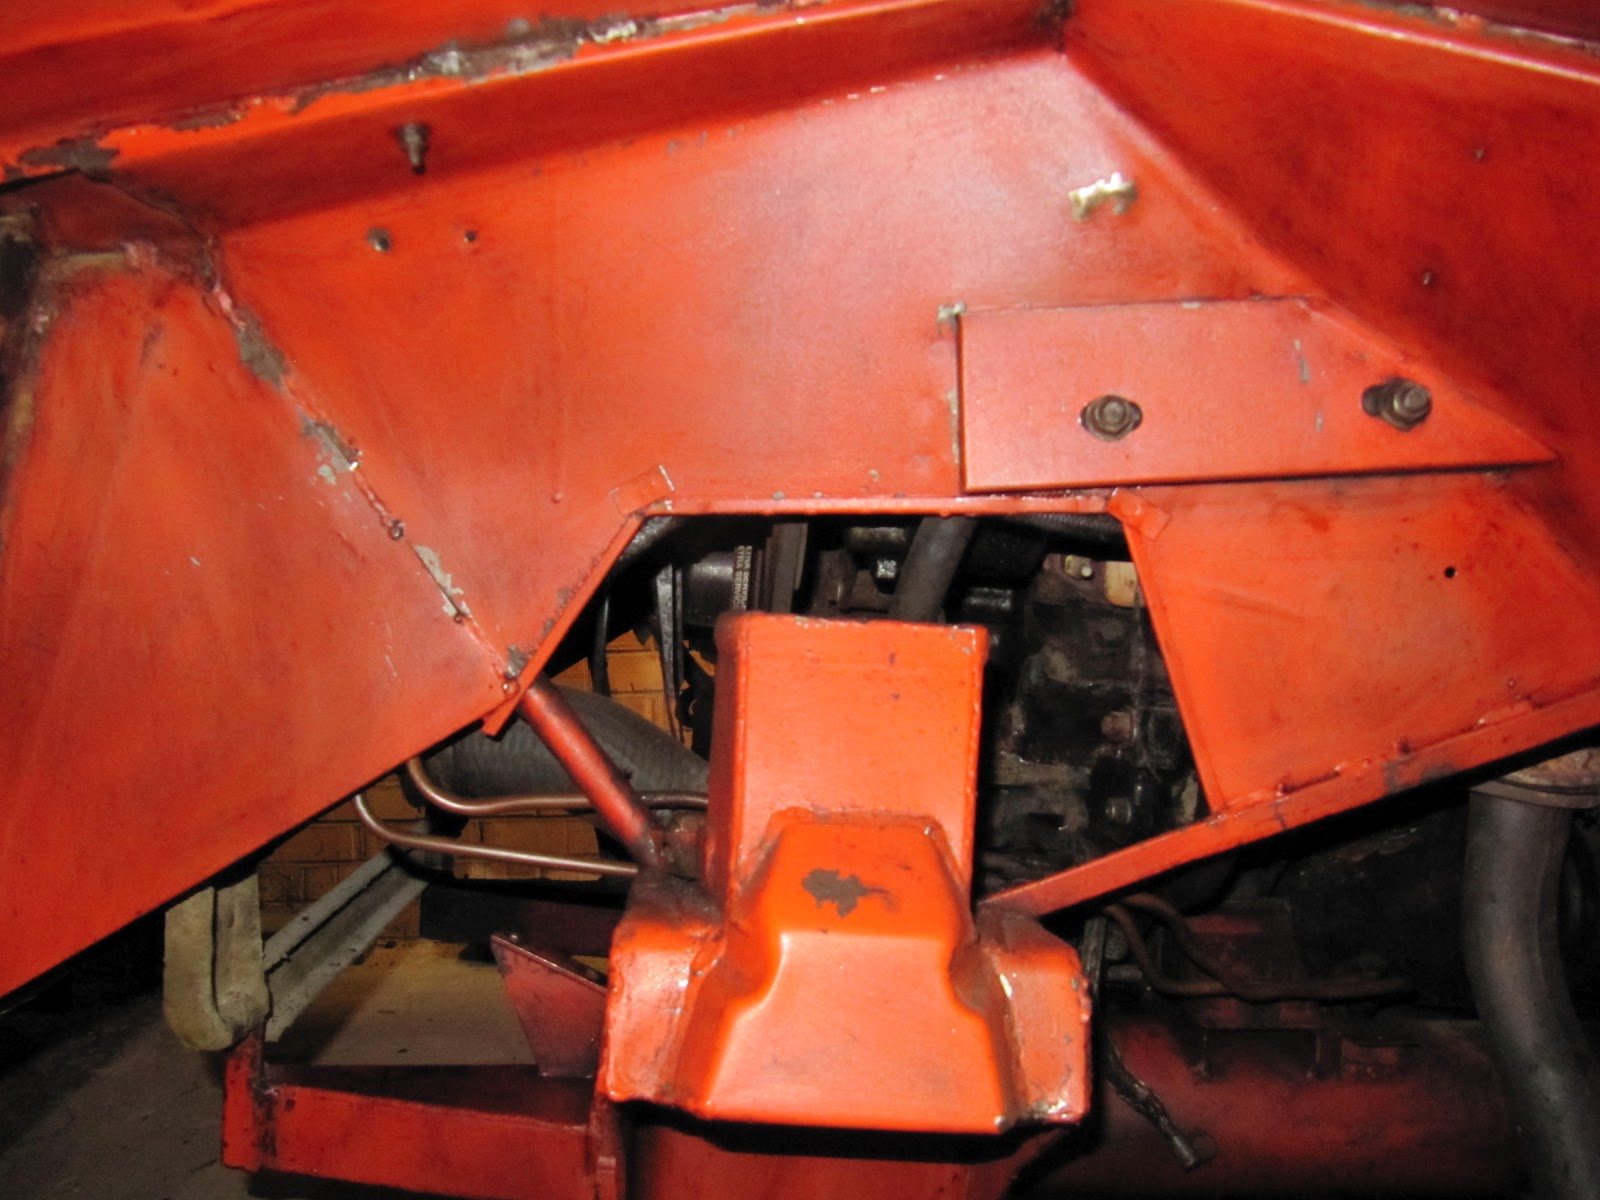
The full extent of the crap and crud on the chassis can now be seen since the suspension is removed.
A full 5 hours of cleaning this morning has revealed that the chassis is actually bright red! I thought it was oil coloured!
There is no magic method that I have found for cleaning oil and crud off. I resorted to Gunk degreaser (not sure if it's the best but it worked for me), a wire brush and lots of paper towel. Then it's just down to elbow grease and patience.
5 hours into the cleaning it looks better, but still plenty to go.


I think I will have to spend quite a few more hours on cleaning before its acceptable. I also think I might have to take the radiator out to complete it properly.
I also need to find out if it needs fully repainting or if cleaning and touching up is enough. There are a few very small areas back to bare metal so something will have to be done, either patch it up or full coat over the whole area. I'll take advice from the JOC forum.
While cleaning I noticed that one of the rubber hoses is damaged. It looks like it has been rubbing on the top right upper fulcrum bolts. There is quite a big area of damage so needs replacing. Another job to the list

Front Suspension Teardown - Catalogue of parts
Dismantling the suspension would have been impossible without the Interceptor parts catalogue. It is worth every penny that it cost to buy from the JOC website. The exploded diagrams are extremely useful, as are the tables of parts.
As each part (washer, nut, screw, plate etc) was removed from the car it was put in a plastic bag with a tag showing the workshop manual item number, description and code id. This will then be used to ensure re-assembly goes smoothly. Well that's the plan anyway!
The major parts (wishbones etc) will now go off for cleaning and powder coating and the calipers are heading off for a clean, repaint, rebuild and pressure test. The calipers will get new pistons and seals at the same time. The only choice is what colour caliper paint to go for, silver, gold, red or black. I'm thinking black at the moment but I've got a few days to decide.
Subscribe to:
Comments (Atom)